Chromebook cheat sheet—— How to get started
Got a new Chromebook? This guide will help you navigate the ever-expanding world of Chromebook apps and figure out how to make the most of Chrome OS.
The beauty of Chrome OS today is its versatility: The operating system supports a huge range of applications in a variety of different formats — web apps, progressive web apps, native Chrome OS programs and Chrome browser extensions, Android apps, Linux apps, and sometimes even Windows apps (gracious!).
That’s enough to make anyone’s head spin. As a result of that platform-defying setup, though, Chromebooks can now handle all sorts of advanced productivity tasks and are viable far beyond their original web-centric focus, when the concept was quite literally just a “browser in a box” — a full-screen Chrome window with no desktop, nothing resembling a traditional app, and next to no options to consider.
But with power comes complexity, and — you guessed it — the weakness of Chrome OS today is that very same versatility. With so many types of apps and so many sources for software, it’s almost impossible to know where to begin and how to get started on your Chromebook adventure. And that’s to say nothing of figuring out the finer points of the operating system and how to optimize the environment for efficiency.
[ Related: Chrome OS: Tips, tools, and other Chromebook intelligence ]
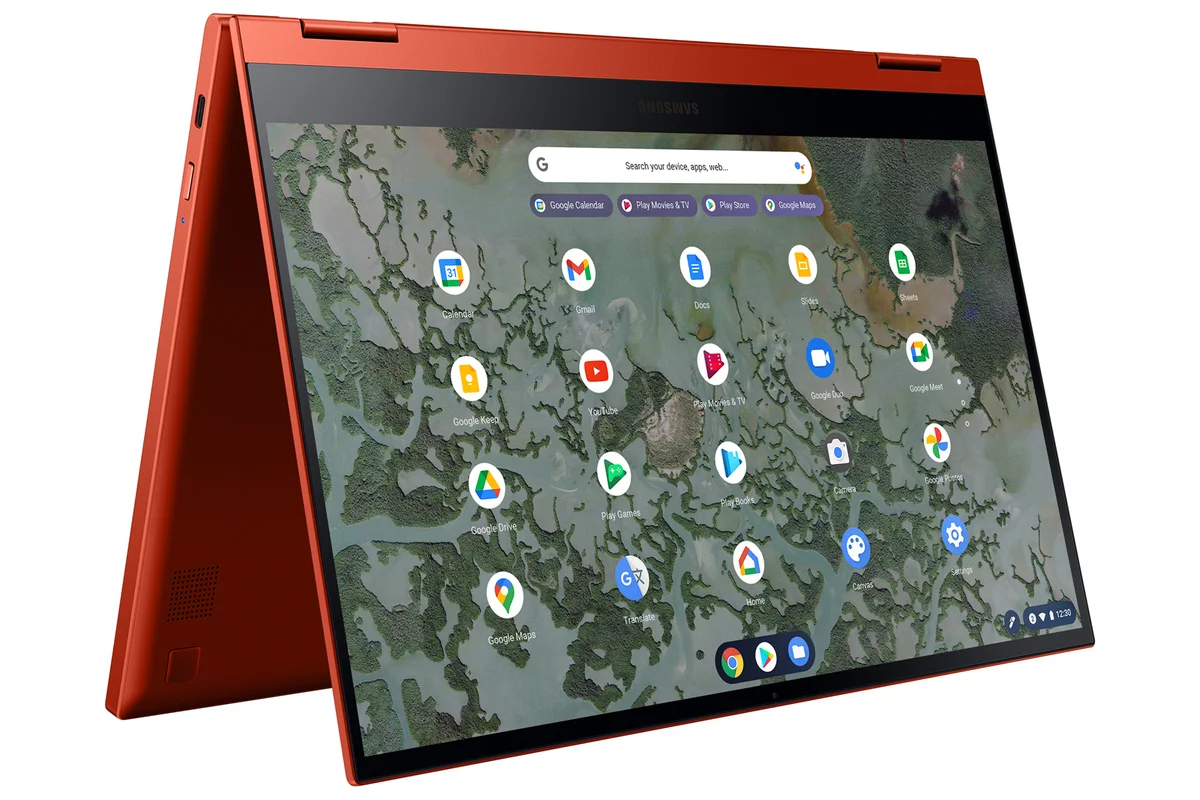
The interface itself may still be relatively minimalist, compared to other operating systems — with its customizable dock (the “shelf”) for holding frequently-accessed programs, its scrolling app drawer (the “launcher”) for finding everything else installed on a system, and its Android-reminiscent settings and notification panel — but beyond that unassuming surface, there’s actually a fair amount going on.
For a platform once touted for its simplicity, things sure have gotten complicated. But they don’t have to be daunting. Follow this carefully crafted guide to getting started with Chrome OS — both finding the right apps from the right places and getting your system organized for optimal efficiency — and we’ll have you up and running with a custom-tuned setup in no time.
Step 1: Figure out what apps you need — and where to find them
The first step is simply to decide what software you need on your Chromebook — what apps will most effectively help you get your work (and non-work) accomplished. Make a quick list of your essentials: What app or service do you prefer to use for email? Do you need an app for chatting with colleagues? What about project management? Image editing? Note taking? Word processing and other office work?
Web apps
In general, with most Google apps and web-centric services, you’ll be fine sticking with the regular web versions — the same sites you always pull up in your browser. You can even create shortcuts to make them look and act more like apps and to keep them readily accessible: Just open the appropriate site in a normal browser tab, click the three-dot menu icon in Chrome’s upper-right corner, and then select “More tools” followed by “Create shortcut.” Give the shortcut whatever name you want — and if you’d like it to open in its own app-like window instead of a standard browser tab, select the “Open as window” option.
Progressive web apps
We’ve heard a lot of buzz lately about progressive web apps, or PWAs — apps that install directly from the browser and then look and act like regular desktop apps, with their own standalone windows and shortcuts, speedier start times, and built-in support for offline use.
PWAs can be a nice alternative to regular web apps, but the problem is that there just aren’t a ton of worthwhile options at this point — nor is there any spectacular storefront for browsing through available options.
Not to worry, though: I’ve got you covered. I maintain an evolving list of the best PWAs for productivity. You can reference that guide for a broader set of worthwhile recommendations, but here are a few quick highlights that are particularly relevant to the Chromebook realm:
The Todoist PWA looks, feels, and acts almost exactly like a regular local program, and it lets you work with your lists and notes even when you’re offline.
The Zoom PWA frees you from the scaled-back website version of the videoconferencing service and lets you make and place calls with a fuller set of features and an experience that’s optimized for the Chrome OS environment.
And Photopea can act as an admirable Photoshop-level graphics editing suite for your Chromebook, with or without an active internet connection.
For more exceptional PWAs worth exploring and a full explanation of the not-so-simple steps involved in installing them, make your way over to my complete guide.
Chrome OS programs and extensions
So you’ve got some regular web apps and maybe a progressive web app or two — excellent. Now think about if there might be some native Chrome OS programs or Chrome browser extensions that could flesh out your collection even further.
This area of the Chromebook experience can get a little confusing, and it’s mostly because of terminology. So brace yourself: “Chrome Apps” — as a proper noun — are no longer supported on the platform. Those were vaguely PWA-like packaged apps that had been present on Chrome OS early on but were phased out this summer.
You can, however, still find native Chrome OS programs, even if they aren’t technically “Chrome Apps.” First, the Chrome Web Store boasts a bunch of cross-platform Chrome browser extensions, which are program-like add-ons that bring a variety of useful functions into your regular Chrome windows.
For instance:
An extension called Text Blaze adds a powerful desktop-like text replacement system into the Chrome OS environment.
A clever Chrome collaboration tool called Bubbles gives you a super-simple way to create screencast videos and then share what you’re seeing with anyone — with or without your voice involved.
A Google-inspired screenshot markup system called Snippyly makes it simple as can be to capture and annotate screenshots and then send ‘em to anyone without having to resort to awkward attachments.
The Chrome Web Store also has an entire section of offline-capable extensions that are worth looking over.
Remember, too, that services such as Gmail, Google Docs, and Google Drive offer their own built-in offline options (though do be aware that you’ll need to enable the offline option in each of those services before it’ll work; you can find much more on that subject in my separate Chromebook offline guide). Chromebooks also come with a handful of preinstalled offline-capable apps, including a calculator, a plain text editor, an image editor, and a file manager. All of those should be in your device’s launcher and ready to roll right out of the gate.
Android apps
Another category of software that works offline and adds interesting possibilities into the Chrome OS environment is Google’s sprawling collection of Android apps — all the same stuff you’d install on your Android phone, from the very same Google Play Store storefront. Most current Chromebooks support the Play Store and offer it as an option within the Chrome OS launcher; if you don’t see it on your device, try opening up your Chromebook’s settings and searching for “Play Store” in the box at the top. If an option labeled “Google Play Store” comes up, click it and follow the steps to enable its presence. If no such option appears, your device is probably among the crop of older and lower-powered legacy Chromebooks that don’t support the feature.
The trick with Android apps on Chrome OS is to know which apps are worth getting — which, in other words, will actually enhance your Chromebook experience in some meaningful way. Especially since so many Android apps are also available in web-based forms, figuring that out isn’t always easy.
I maintain an evolving list of Android apps for Chromebooks that aims to identify the most worthwhile titles. Among the apps I’d recommend installing from the Play Store are either OneNote or Keep (depending on your note-taking preference), Duet Display (which lets you have your Chromebook double as a wireless second display for your Mac or PC, if you use multiple devices), and the Google Calendar Android app (which will let you access your calendar offline — something its web-based brother won’t do).
There are plenty more noteworthy options in the list, and it’s updated regularly with new recommendations.
Linux apps
The next type of app to consider one of the more recent additions to Chrome OS and one that certain older systems still can’t support: the geek-adored domain of Linux apps. Provided you have a reasonably recent Chromebook and don’t mind getting your hands a little dirty with technical trickery, it’s well worth your while to explore.
To start, click over to my Linux apps on Chrome OS guide to learn how to get Linux up and running on your system. Then, look through my evolving list of Linux app for Chromebook recommendations to see which titles might be right for you.
From a true native desktop Slack app to a fully featured local office suite and an Outlook-reminiscent email and calendar client, oodles of valuable options await.
Windows apps
Finally, if you work in a place that still relies on some traditional PC software, you might have the option to access a virtual Windows desktop and use apps from that environment right on your Chromebook (yes, really!).
Google started offering an option for companies to do that in 2020, and Microsoft is expected to follow suit with its own Windows 365 Cloud PC program in August.
This category of apps is relevant only if your employer has an enterprise-level license to use it, but if you are in that situation, it could be an important part of your Chromebook productivity picture. You can see more about how it works and what it’s like to use in my hands-on assessment.
Step 2: Organize your apps for easy access
With your apps all set, our next step is to get everything organized so you can access what you need with a minimal amount of ongoing effort. Chrome OS may not have a desktop in the traditional sense, but it does have two important areas for app storage, as we discussed at the start of this story: the launcher, or app drawer, and the shelf — the tray of docked icons at the bottom of the screen.
The launcher is where everything installed on your system appears. You can open it by either tapping your Chromebook’s Everything key (the one where Caps Lock usually goes, also sometimes known as the Search key or Launcher key) or by clicking the circle-shaped icon in the lower-left corner of the screen and then clicking the upward-facing arrow in the partial drawer that appears. If your device is a two-in-one that converts into a tablet — by swiveling the screen around past the 180-degree mark or by detaching the screen from the keyboard completely — the launcher will remain open on your desktop by default whenever it’s in a tablet state.
You can drag and drop icons throughout the launcher to change their order or drag icons atop other icons to form folders and organize things in any way you like. Truthfully, though, you probably won’t need to browse through that area too often; it’s far faster to simply tap the Everything key or click the circle-shaped icon in the lower-left corner of the screen and then start typing the name of the app you want. After one or maybe two letters, it should appear as the top option — and you can simply hit enter to open it.
For apps you open often, find them in the launcher, right-click (or two-finger tap) them, and then select “Pin to shelf.” Once the icon appears in your shelf, you can drag and drop it to change its position. Pay careful attention to that, as each position holds a hidden shortcut: From anywhere in the system, you can press Alt and the number key corresponding with an icon’s placement in your shelf to open the associated program (or shift your focus to it, if it’s already open).
Between the Alt-number key shortcut, the Alt-Tab app-switching command, and the Overview key (the key showing a box with two lines, directly to the left of the brightness controls on your keyboard), opening and moving among apps on Chrome OS can always be swift and snappy.
Step 3: Learn some advanced shortcuts and power-user tricks
Congratulations! Your Chromebook is officially stocked, organized, and ready to help you get stuff done. All that’s left to do now is think about learning some advanced tricks for getting around Chrome OS and taking advantage of everything it has to offer.
First of all, Chrome OS is filled with useful shortcuts beyond the few mentioned above. You can capture a screenshot by holding down Ctrl and then pressing the Overview key, for instance — or if you want to capture a specific area of the screen instead of the entire display, hit Ctrl, Shift, and the Overview key together and then use the on-screen guides to select any area you want.
Some other especially handy shortcuts worth remembering:
Action Key Combination
WINDOW MANAGEMENT
Dock window on the left Alt + [
Dock window on the right Alt + ]
Maximize window Alt + =
Minimize window Alt + -
Close current tab Ctrl + W
Close current window Ctrl + Shift + W
Move to a specific tab within a window Ctrl + 1 (or any number representing a tab’s position)
Open the Chrome browser menu Alt + E or Alt + F
WEB NAVIGATION
Open link in a new tab Ctrl + Shift + click the link
Open link in a new tab in the background Ctrl + click the link
Open link in a new window Shift + click the link
Go back to previous page in your history Alt + <
Go forward to next page in your history Alt + >
Go to the very top of a page Ctrl + Home or Ctrl + Alt + up arrow
Go to the very bottom of a page Ctrl + End or Ctrl + Alt + down arrow
Page down one screen Spacebar or Alt + down arrow
Page up one screen Shift + spacebar or Alt + up arrow
Start a new Google search from a tab Ctrl + K or Ctrl + E
Focus on the address bar Ctrl + L or Alt + D
SYSTEM TOOLS
Open the task manager Everything key + Esc
Make everything on screen larger Ctrl + Shift + =
Make everything on screen smaller Ctrl + Shift + -
Open the Files app Alt + Shift + M
Open the status bar/notification panel Alt + Shift + S or Alt + Shift + N
Turn Caps Lock on and off Alt + Everything key
Got all that? Good. Now, some Chromebook betterment projects worth pursuing — or hanging onto for a quiet day:
Creating your own custom Chrome address bar actions. With a few minutes of simple setup, you can give yourself super-fast shortcuts to practically anything imaginable — be it an element of your system, a specific website you frequent, or even a specific command within a website (like launching a new blank email draft).
Bringing widgets into Chrome OS. For all of its Android-inspired elements, one thing Chrome OS doesn’t support yet is the time-saving home screen widget. But there’s a workaround.
Cranking up your Chromebook’s cloud-connecting power. A few simple tweaks that’ll make your Chromebook an even more connected part of your cloud-centric setup.
Learning fast fixes for common Chrome OS problems. A list of common Chromebook problems you might encounter and the expert-approved solutions to solve ‘em.
Last but not least, if you want to get Google-centric tips and insight all throughout the year, take 20 seconds now to sign up for my Android Intelligence newsletter. It’ll bring all sorts of next-level knowledge to your inbox every Friday — just one email per week, from me to you.
This article was originally published in March 2019 and updated in August 2021.